Building Pioneer's UI: Part 0: Introduction
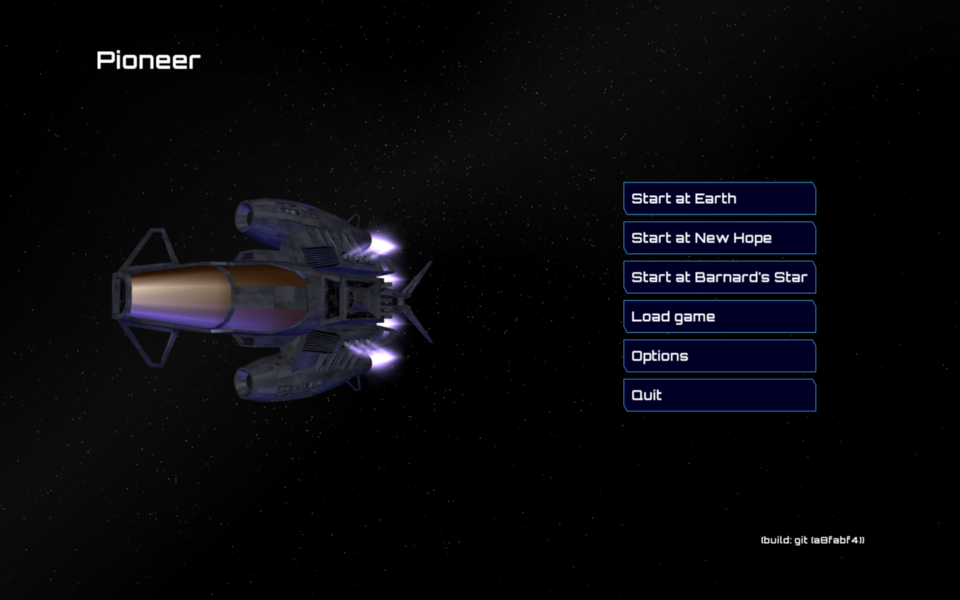
In the evenings, after I get home from work, I work on a game. This is about as close to the opposite you can get from my day job while still being a computer nerd. I do it to relax, and to learn some things that I can’t learn at work.
Pioneer is the game in question. It’s an open-ended space game, where you can fly around doing whatever you like. Exploring, trading, looting, pillaging and so on. It began life in 2008 as an open-source clone of Frontier: Elite II but these days draws inspiration from many games, books and films in the genre. While it exists in a fairly crowded market, it lives on as a labour of love for a group of programmers, players and well-wishers that have fond memories of Elite and Frontier and want to relive that experience.
I joined the project in January 2011 and quickly became something like the project leader, a role that has now been passed to a small team of contributors. The code we inherited worked, but was written in a hurry and was very poor from a software engineering perspective. In the last 30-odd months we’ve implemented loads of new features, but also spent a great deal of energy disentangling the old code and making it good. Most of the concepts have survived but most of the code has been rewritten.
In June 2011 I began a small side-project to clean up the UI system, and so began a project that is still in progress and just in last few months has begun to bear fruit.
This is the first article in a series that describes the design and implementation of the new UI system. I want to talk about the problems in the old system, the special requirements that have been identified over time, the many failed attempts and experiments that came and went and how its finally all coming together.
There’s going to be a few parts to this series. I’m not entirely sure how many yet. The next (first) instalment will begin by looking at the original UI system and some of its shortcomings, and some attempts that were made to fix it. Later I’ll look at the off-the-shelf systems we tried and discarded before deciding to make our own. And then I’ll go into the design of the new system and talk about how it’s meeting the requirements and setting us up well for the future.
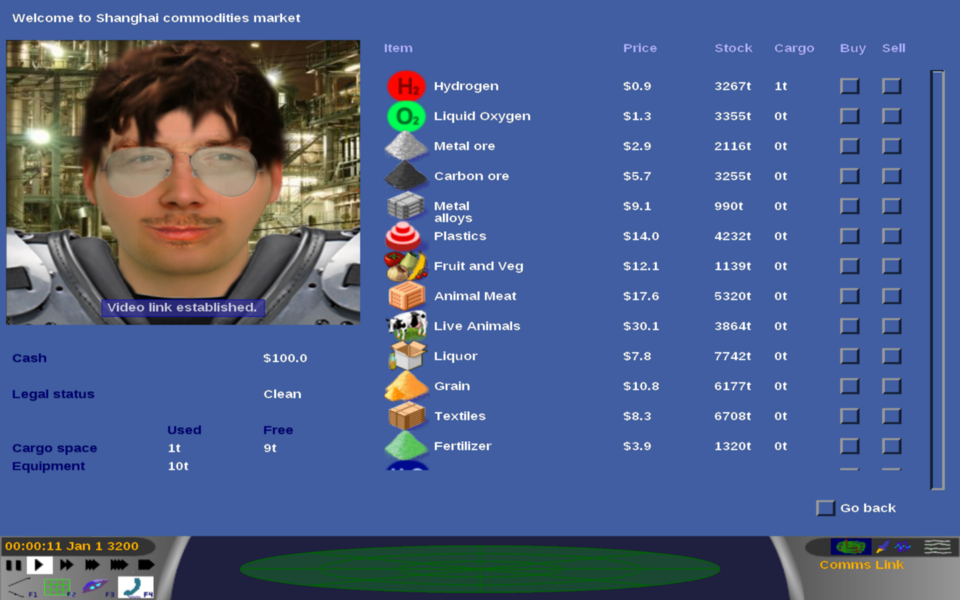
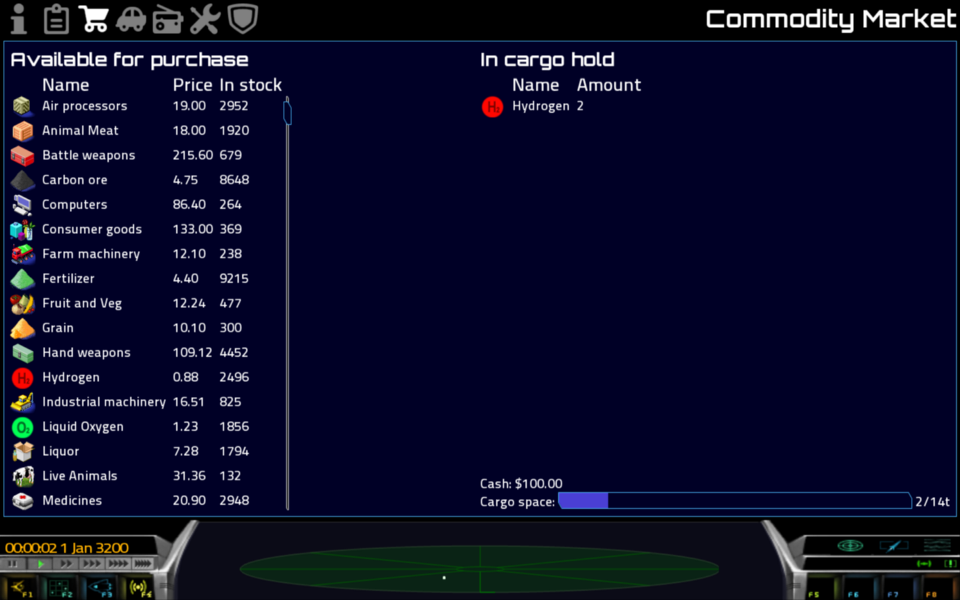
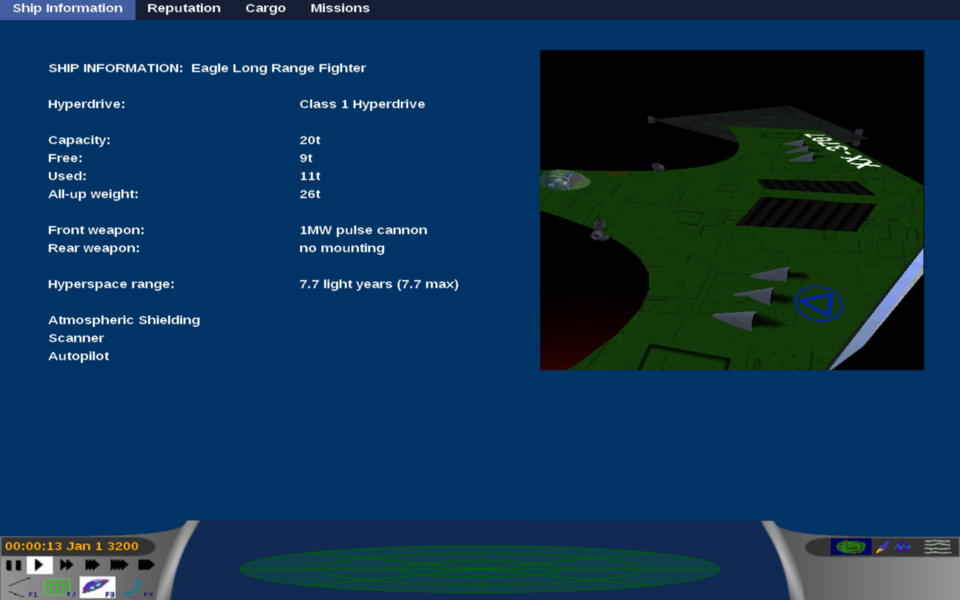
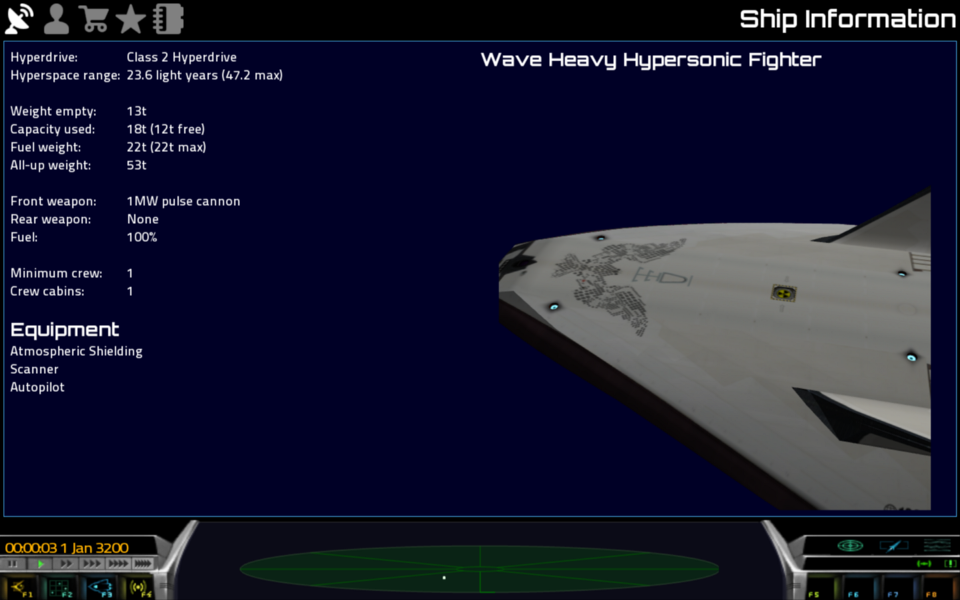
For now I’ll finish with some before and after screenshots. They don’t tell much of a story, but its a start!
